


Before refinishing a deck, clean the surface thoroughly, address any repairs, and prepare the wood by sanding and clearing dust. This meticulous preparation ensures long-lasting results, enhances curb appeal, and protects your investment. Key steps include cleaning, repairing, sanding, and vacuuming to create a solid foundation for successful deck refinishing.
Transform your outdoor space with this comprehensive DIY deck refinishing guide! Revitalize your worn-out deck and extend its lifespan with these simple, step-by-step instructions. From preparing the surface and removing old finish (1.1, 1.2, 1.3) to selecting the best refinisher (2.1, 2.2, 2.3) and final touches (3.1, 3.2, 3.3), learn how to achieve professional results without breaking the bank. Elevate your deck’s beauty and durability with our expert tips for DIY success!
- Preparing Your Deck for Refinishing
- 1.1 Remove Old Finish and Debris
- 1.2 Clean and Sand the Deck Surface
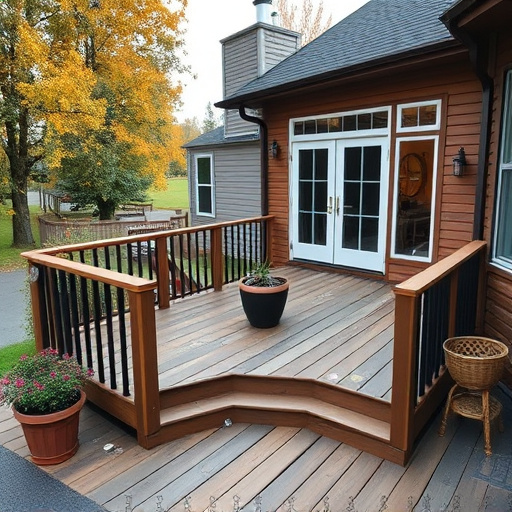
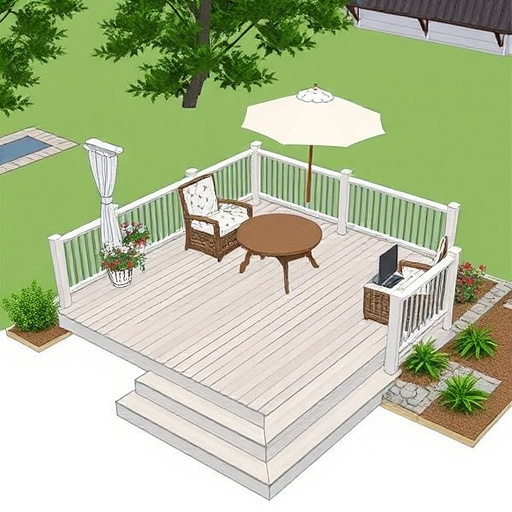
Preparing Your Deck for Refinishing

Before starting the refinishing process, preparing your deck is a crucial step to ensure long-lasting results. Begin by thoroughly cleaning the deck surface to remove any debris, dirt, and organic matter. Use a pressure washer or a stiff brush to scrub away grime, paying close attention to stained or faded areas. This initial cleaning will help the new finish adhere better.
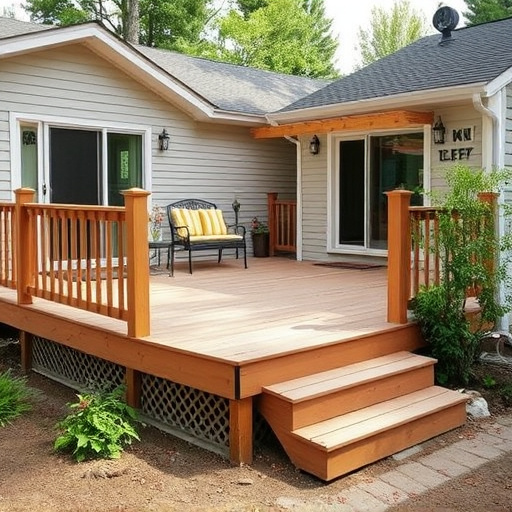
Once cleaned, inspect your deck for any necessary repairs. Check for loose boards, damaged nails or screws, and rot or decay in the decking material or support structure. Address these issues by replacing rotten wood, securing loose components, and filling any gaps with appropriate filler. Proper preparation, including roof repair if needed and ensuring all siding repairs are made, creates a solid foundation for your deck refinishing project.
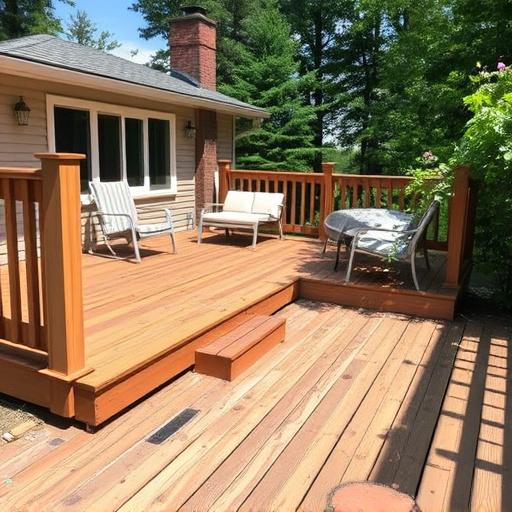
1.1 Remove Old Finish and Debris
Before you begin any deck refinishing project, it’s crucial to start with a clean slate. The first step in achieving DIY deck refinishing success is removing the old finish and any debris that may have accumulated over time. This meticulous process involves sandpaper and a pressure washer to strip away the existing coating, revealing the raw wood beneath. Ensure safety by donning protective gear, including gloves and goggles, as this task can generate dust and splinters.
Once the surface is cleared, thoroughly sweep and clean the deck to eliminate any remaining particles. This step is essential for a successful refinish, ensuring that your new finish adheres properly and creates a smooth, even surface. Moreover, paying close attention to the details and corners will prevent missed spots, resulting in a professional-looking, refreshed deck—a valuable asset for any home or commercial property, be it its siding and gutters or roofing.
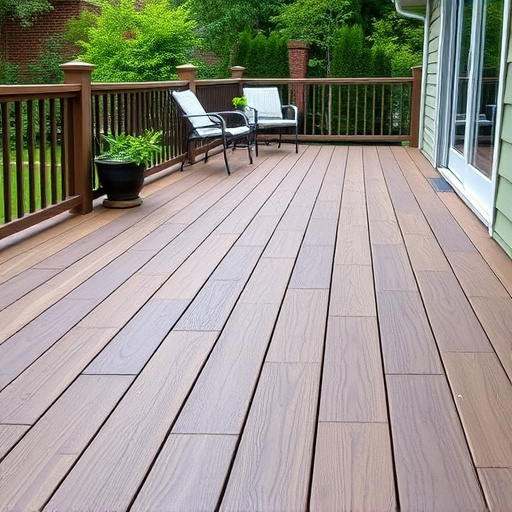
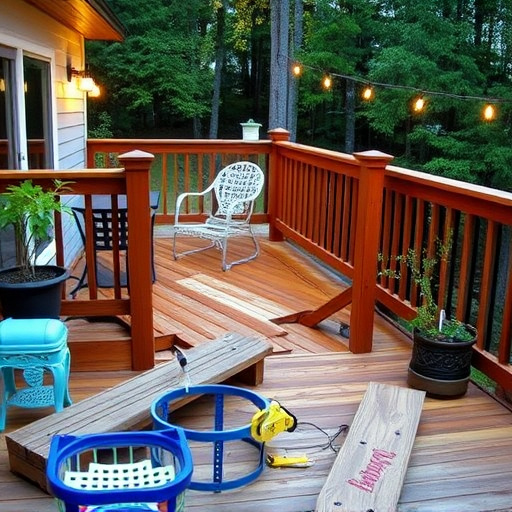
1.2 Clean and Sand the Deck Surface
Before you begin any deck refinishing project, ensuring your deck is clean and free from debris is essential. Start by removing all furniture, plants, and decorations from the deck area. Next, sweep the deck thoroughly to eliminate dirt, leaves, and other organic matter. This initial cleaning step is crucial as it prepares the surface for sanding, allowing for a smoother application of new finish.
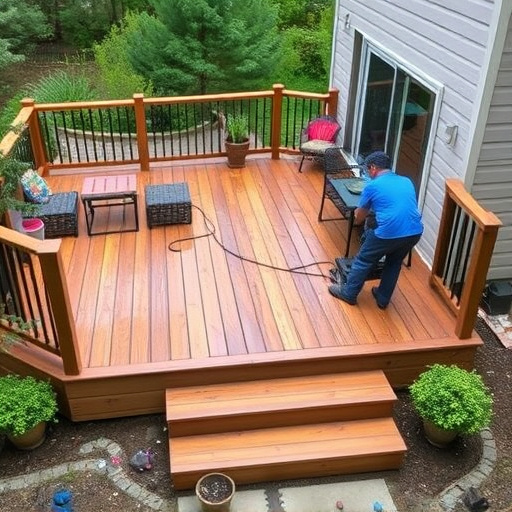
Once the deck is clean, it’s time to sand. Use a power sander or hand sander to gently roughen the surface. Sanding helps to remove existing finishes, stains, and any loose wood fibers. Focus on areas with severe wear and tear, ensuring every corner and groove is addressed. After sanding, vacuum or sweep again to capture all the fine dust generated during the process. This meticulous cleaning and sanding step sets the stage for a successful deck refinishing project, enhancing its longevity and aesthetic appeal. Remember, proper preparation is key when it comes to DIY deck refinishing, and these initial steps are a vital part of the process.
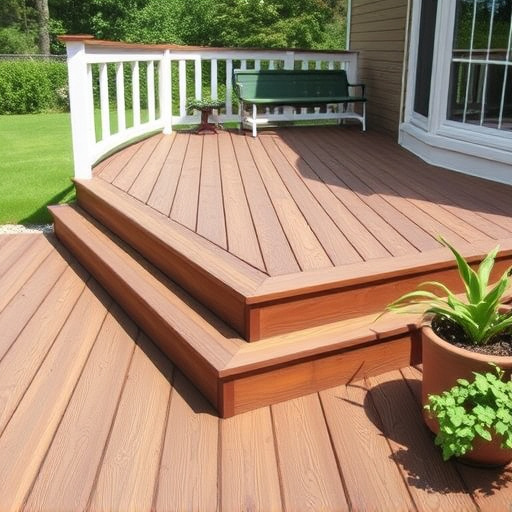
Refining your deck is a rewarding DIY project that can transform your outdoor space. By carefully preparing the surface, removing old finish, cleaning, and sanding, you lay the foundation for a successful refinish. These initial steps ensure a smooth, even application of new coating, allowing you to create a beautiful, long-lasting finish for your deck.